
SHOP THIS POST:
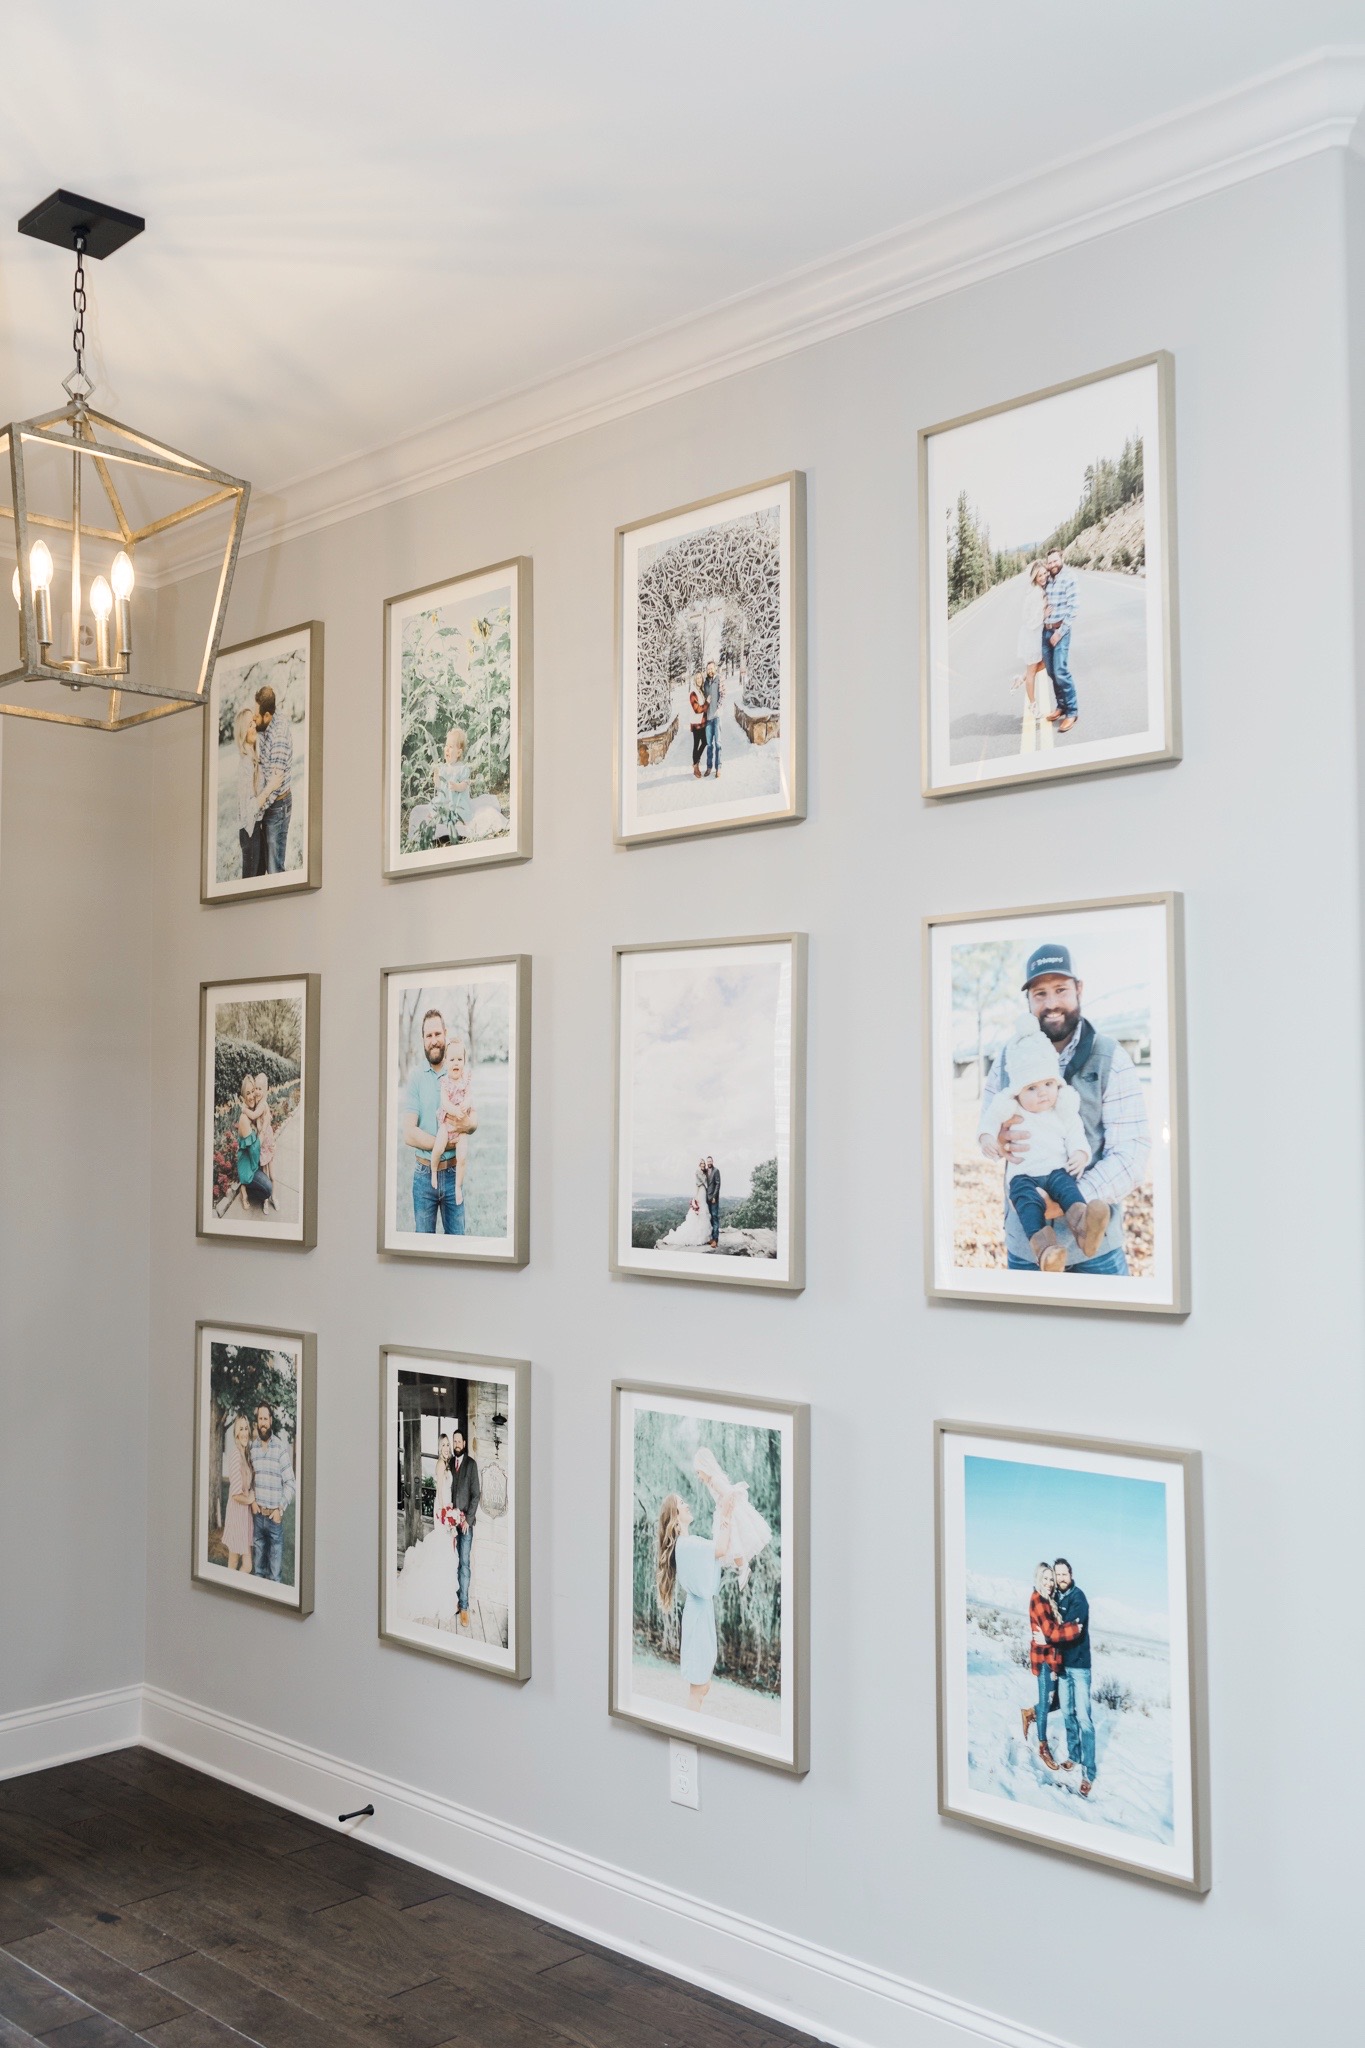
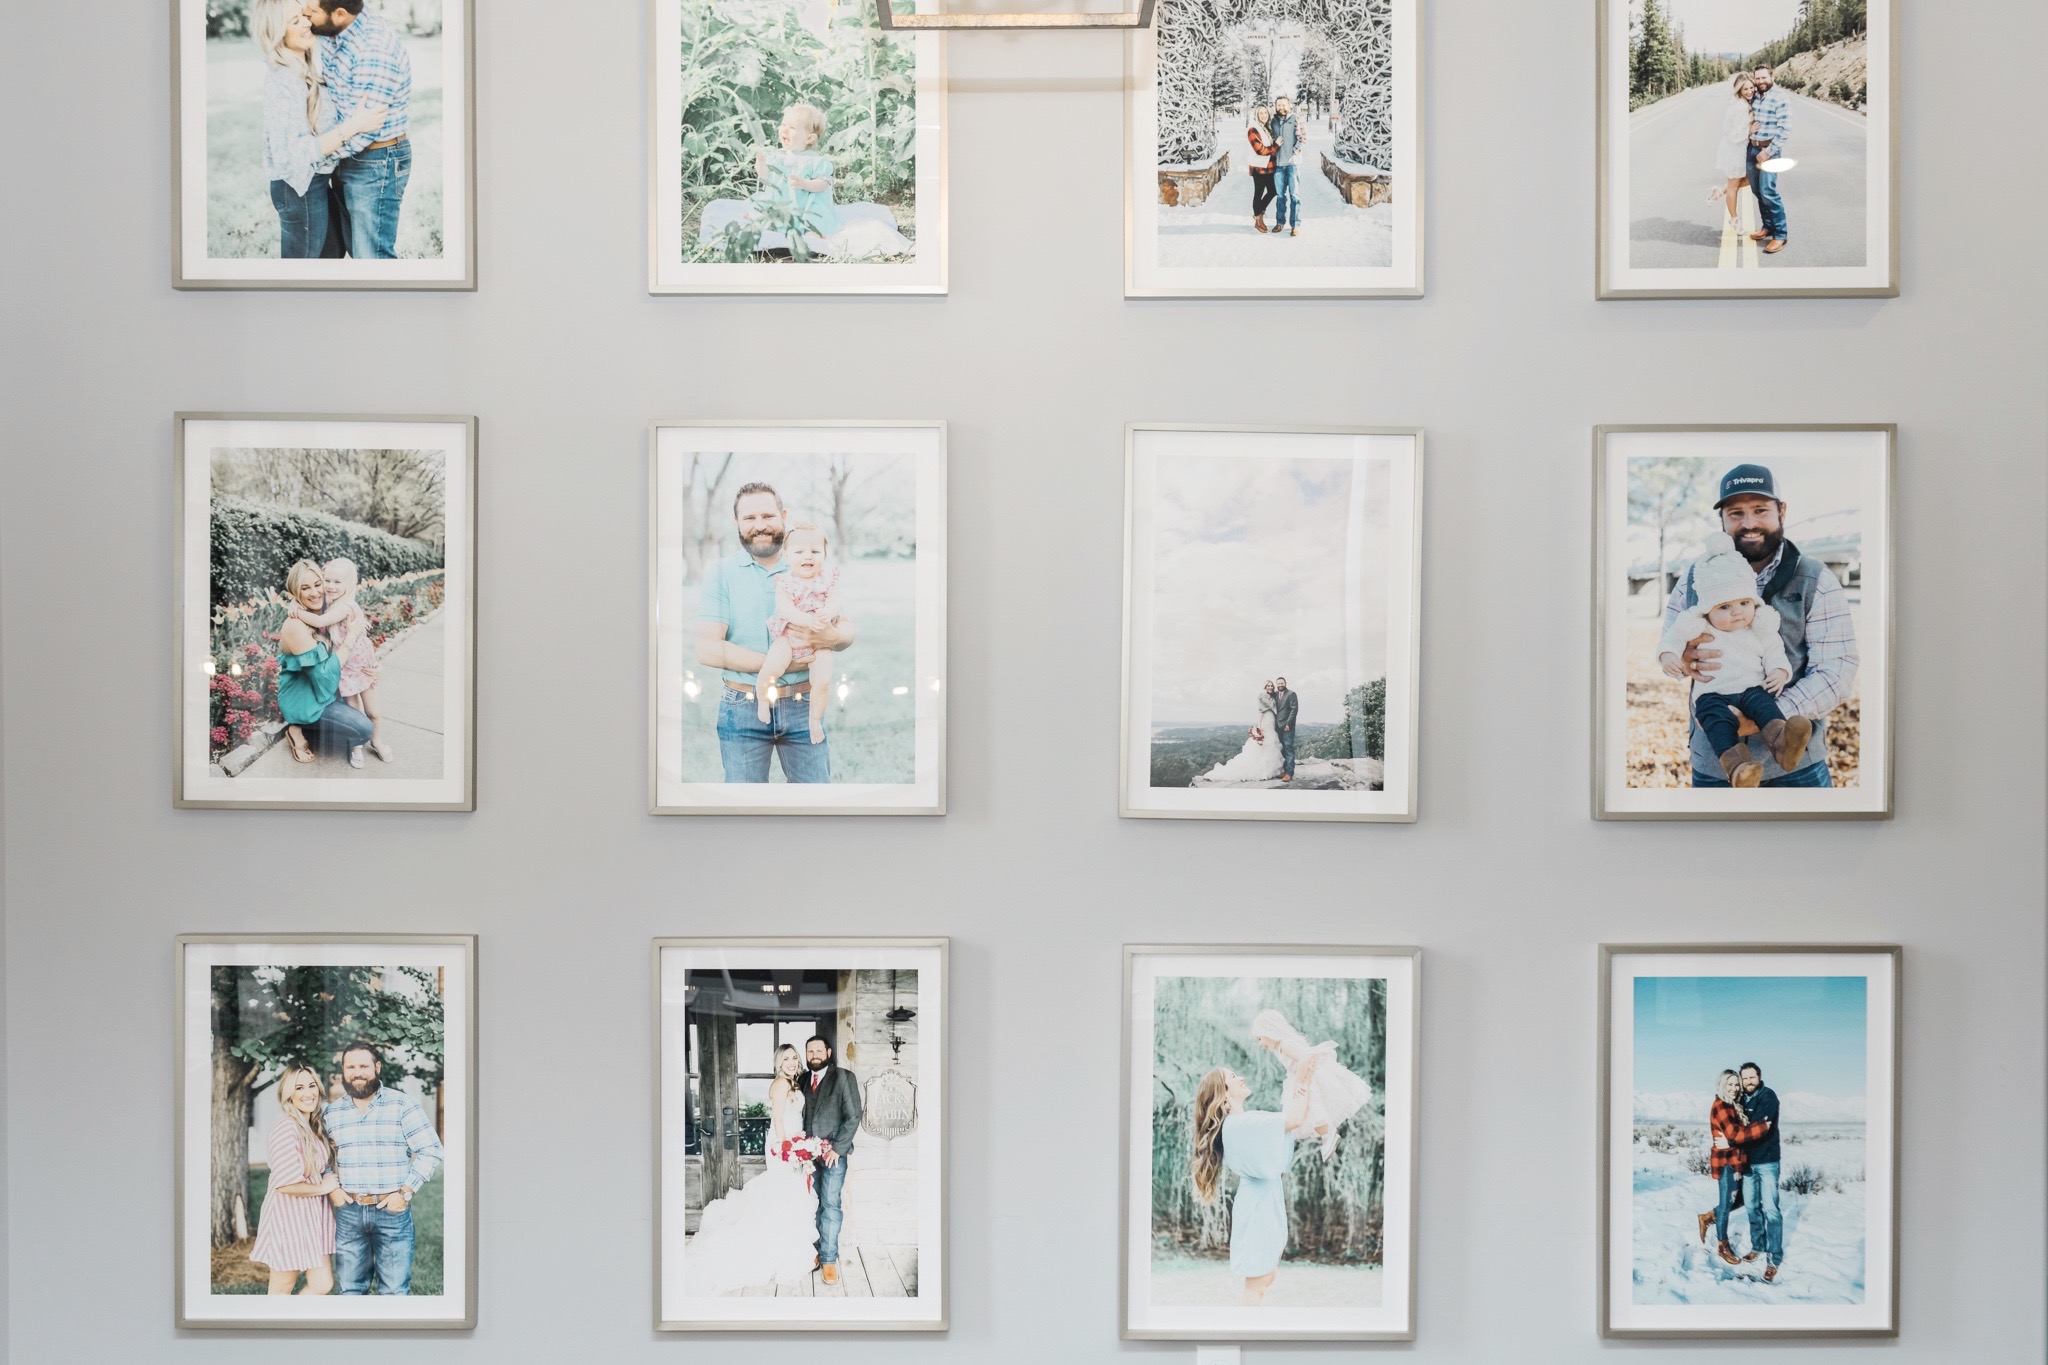
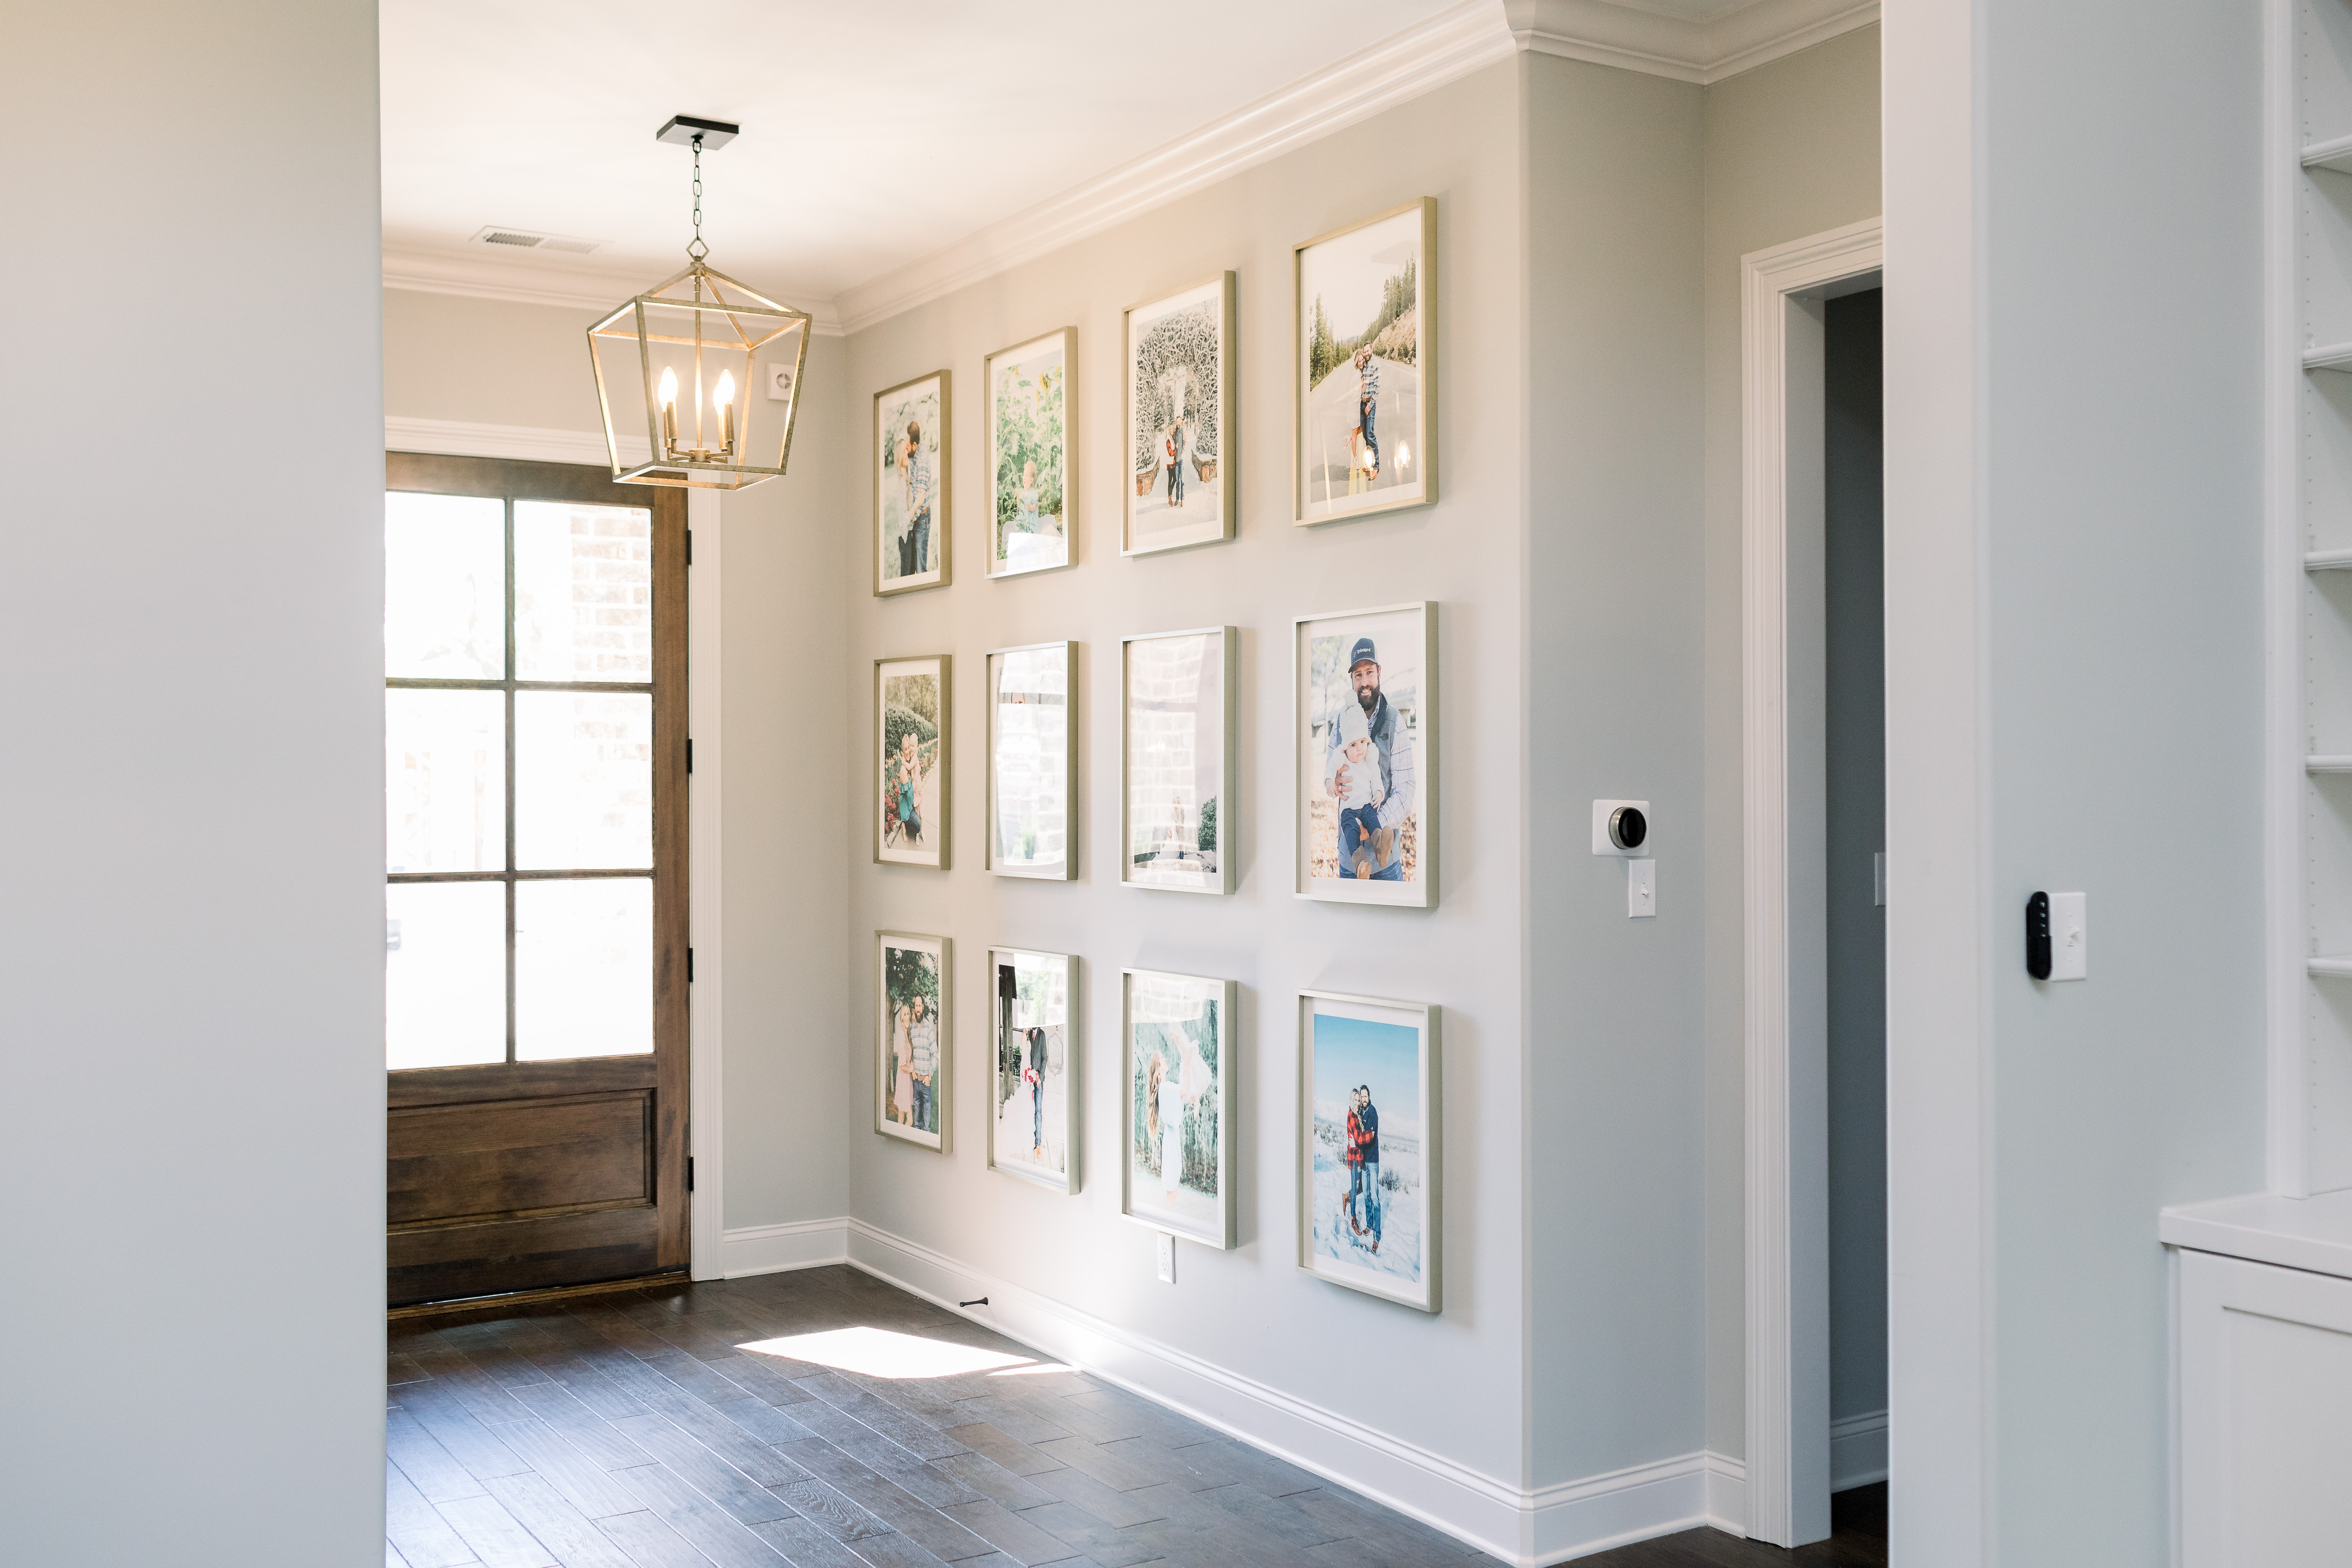
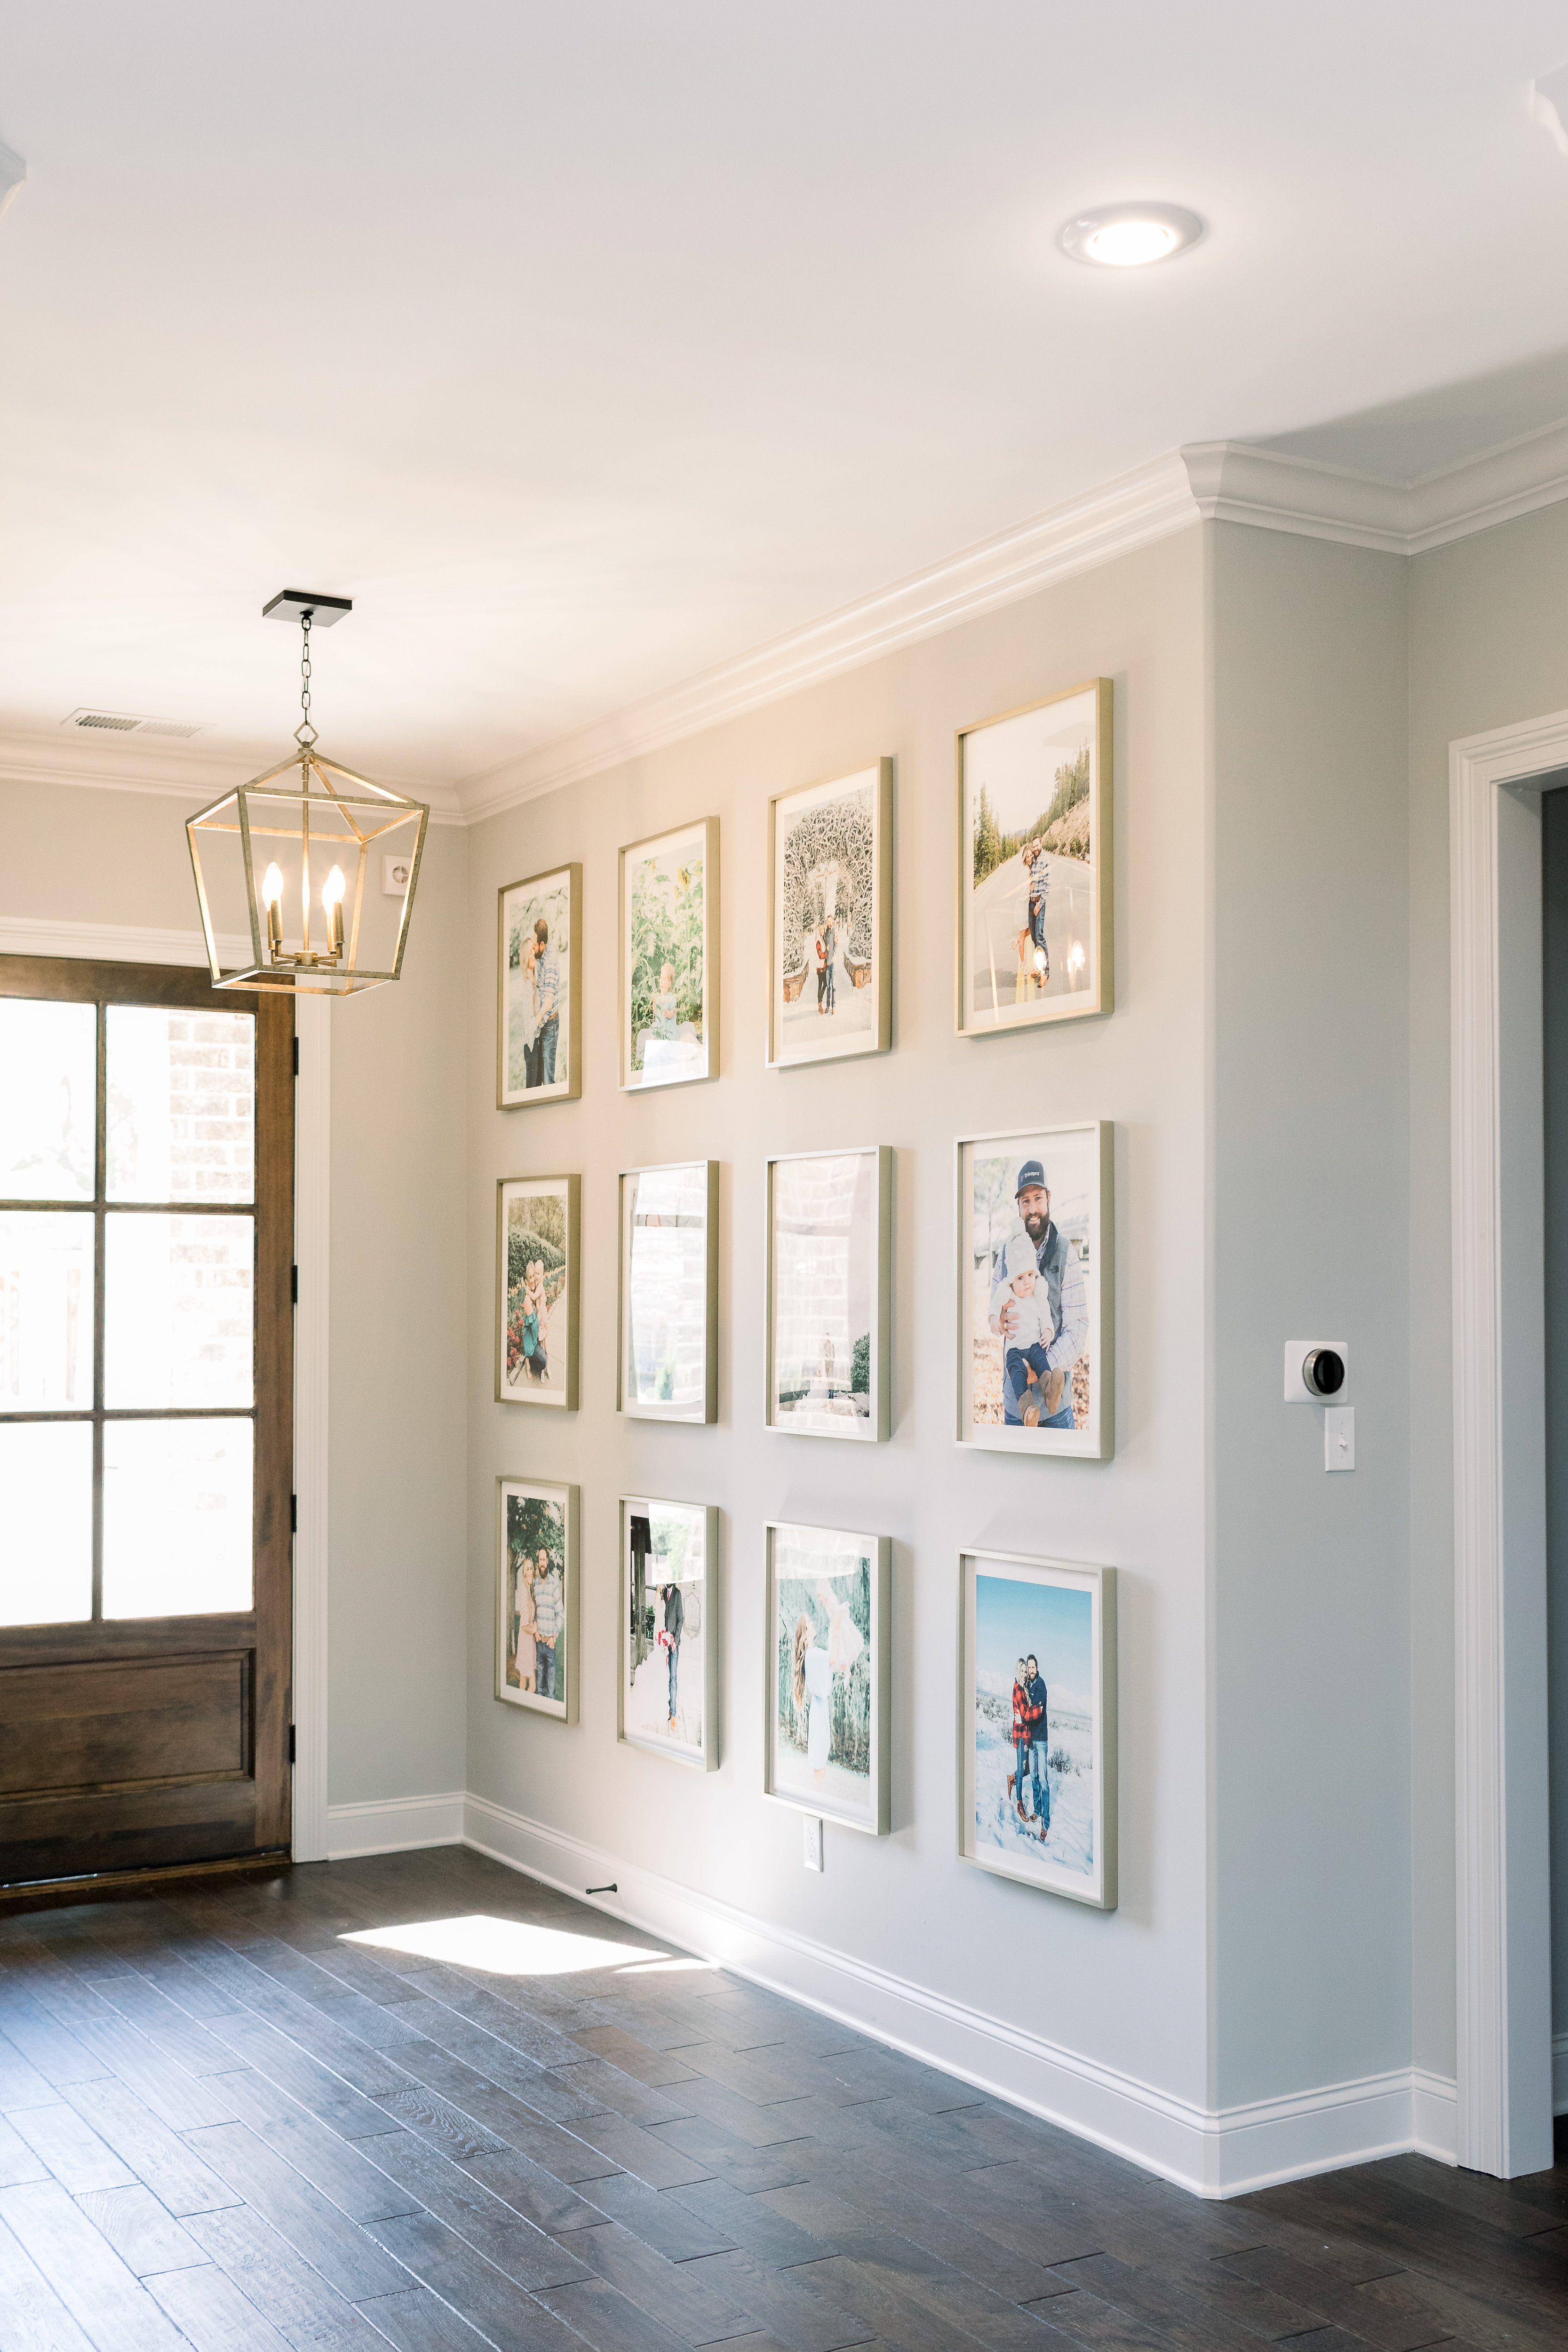
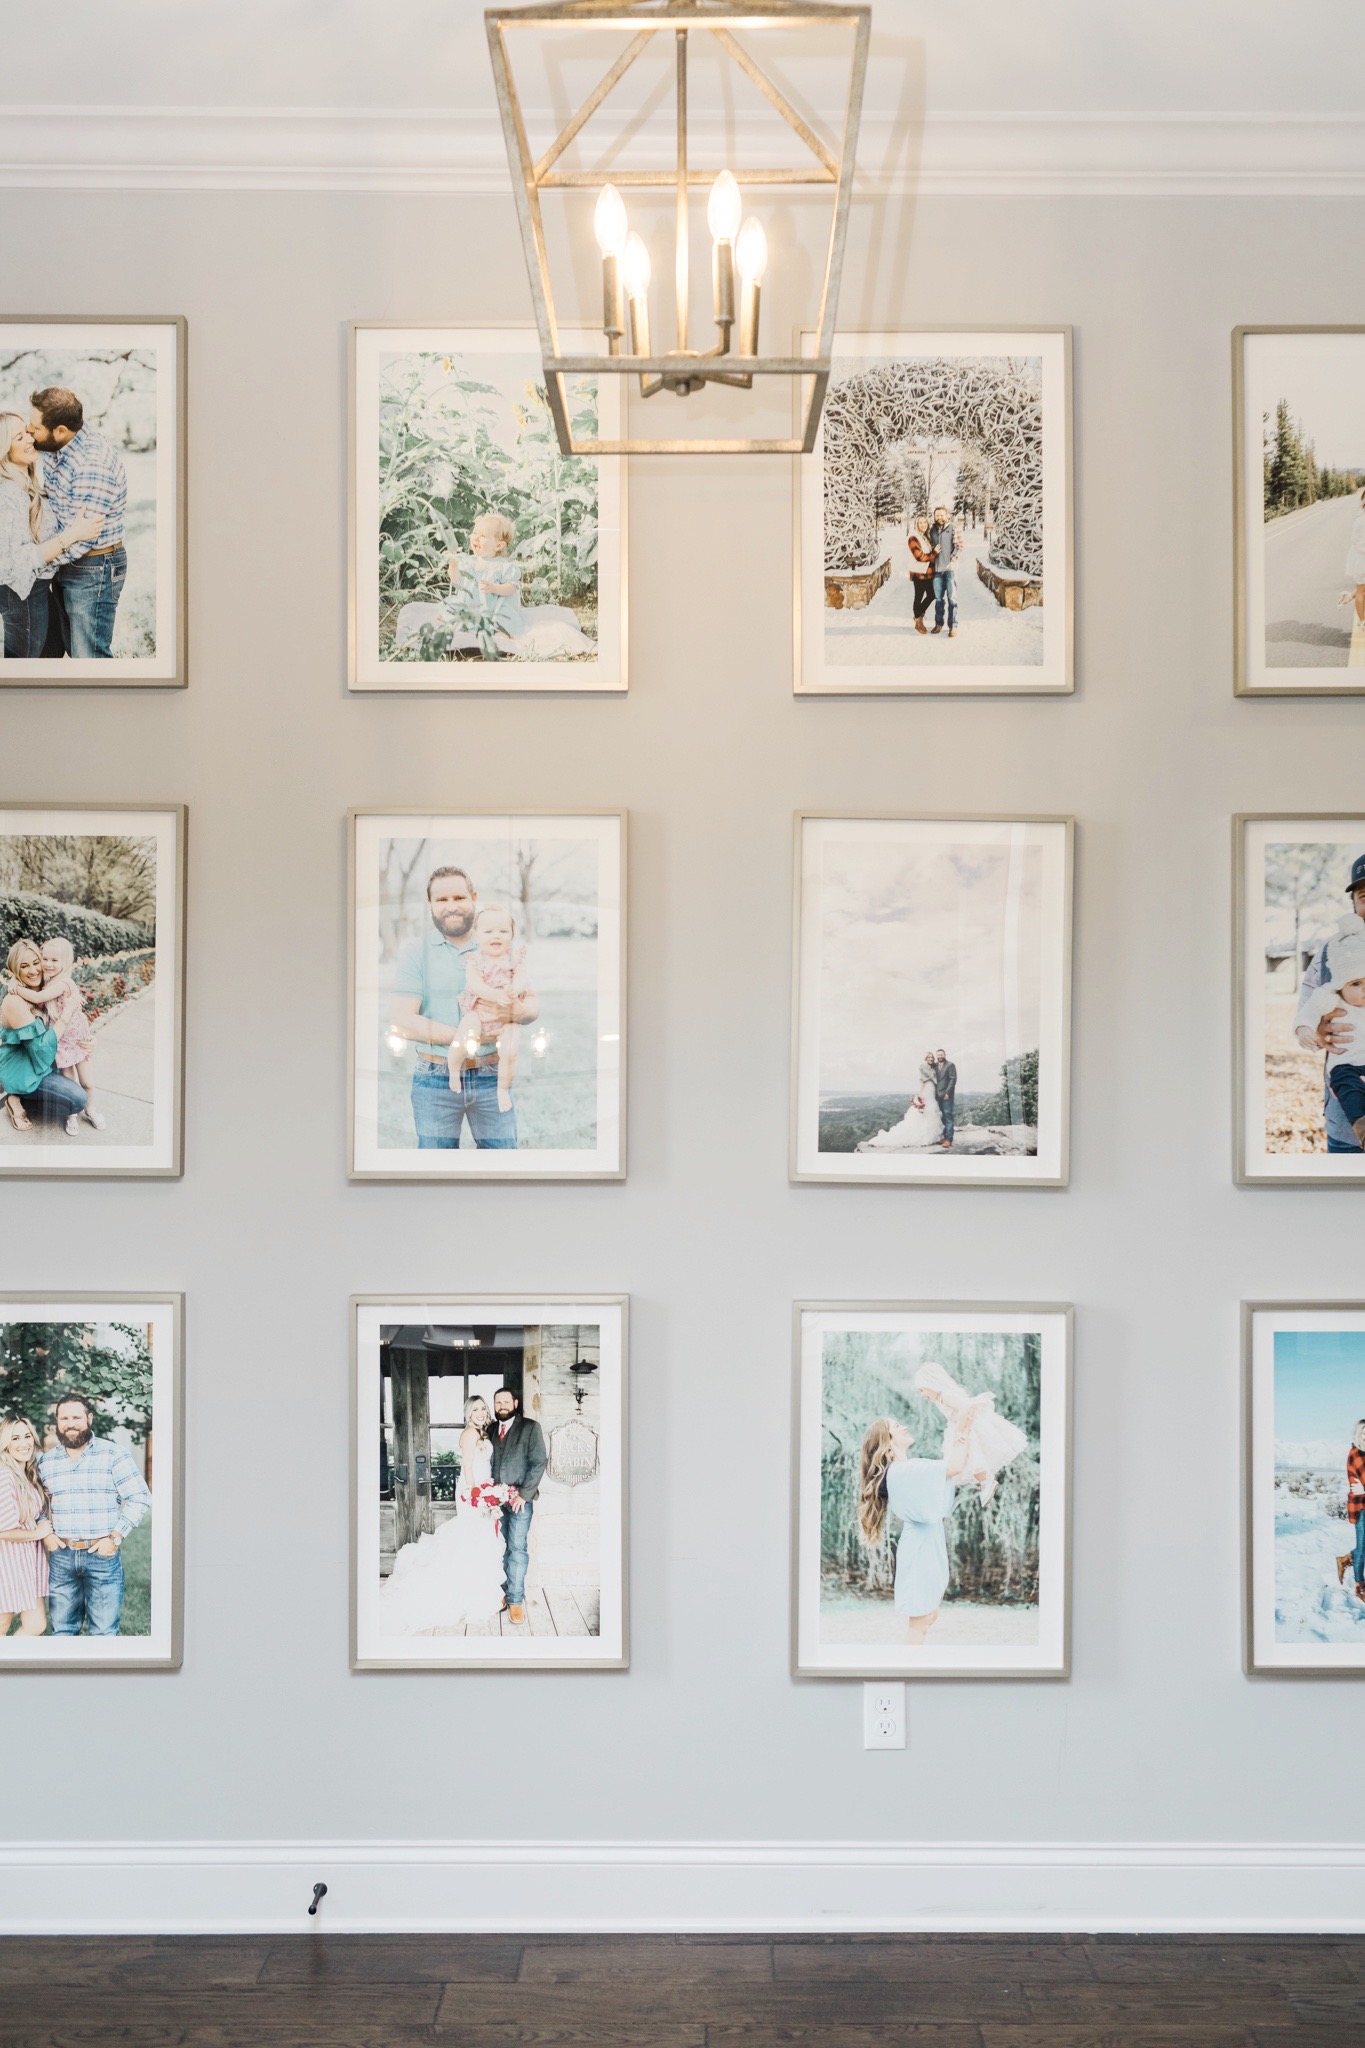
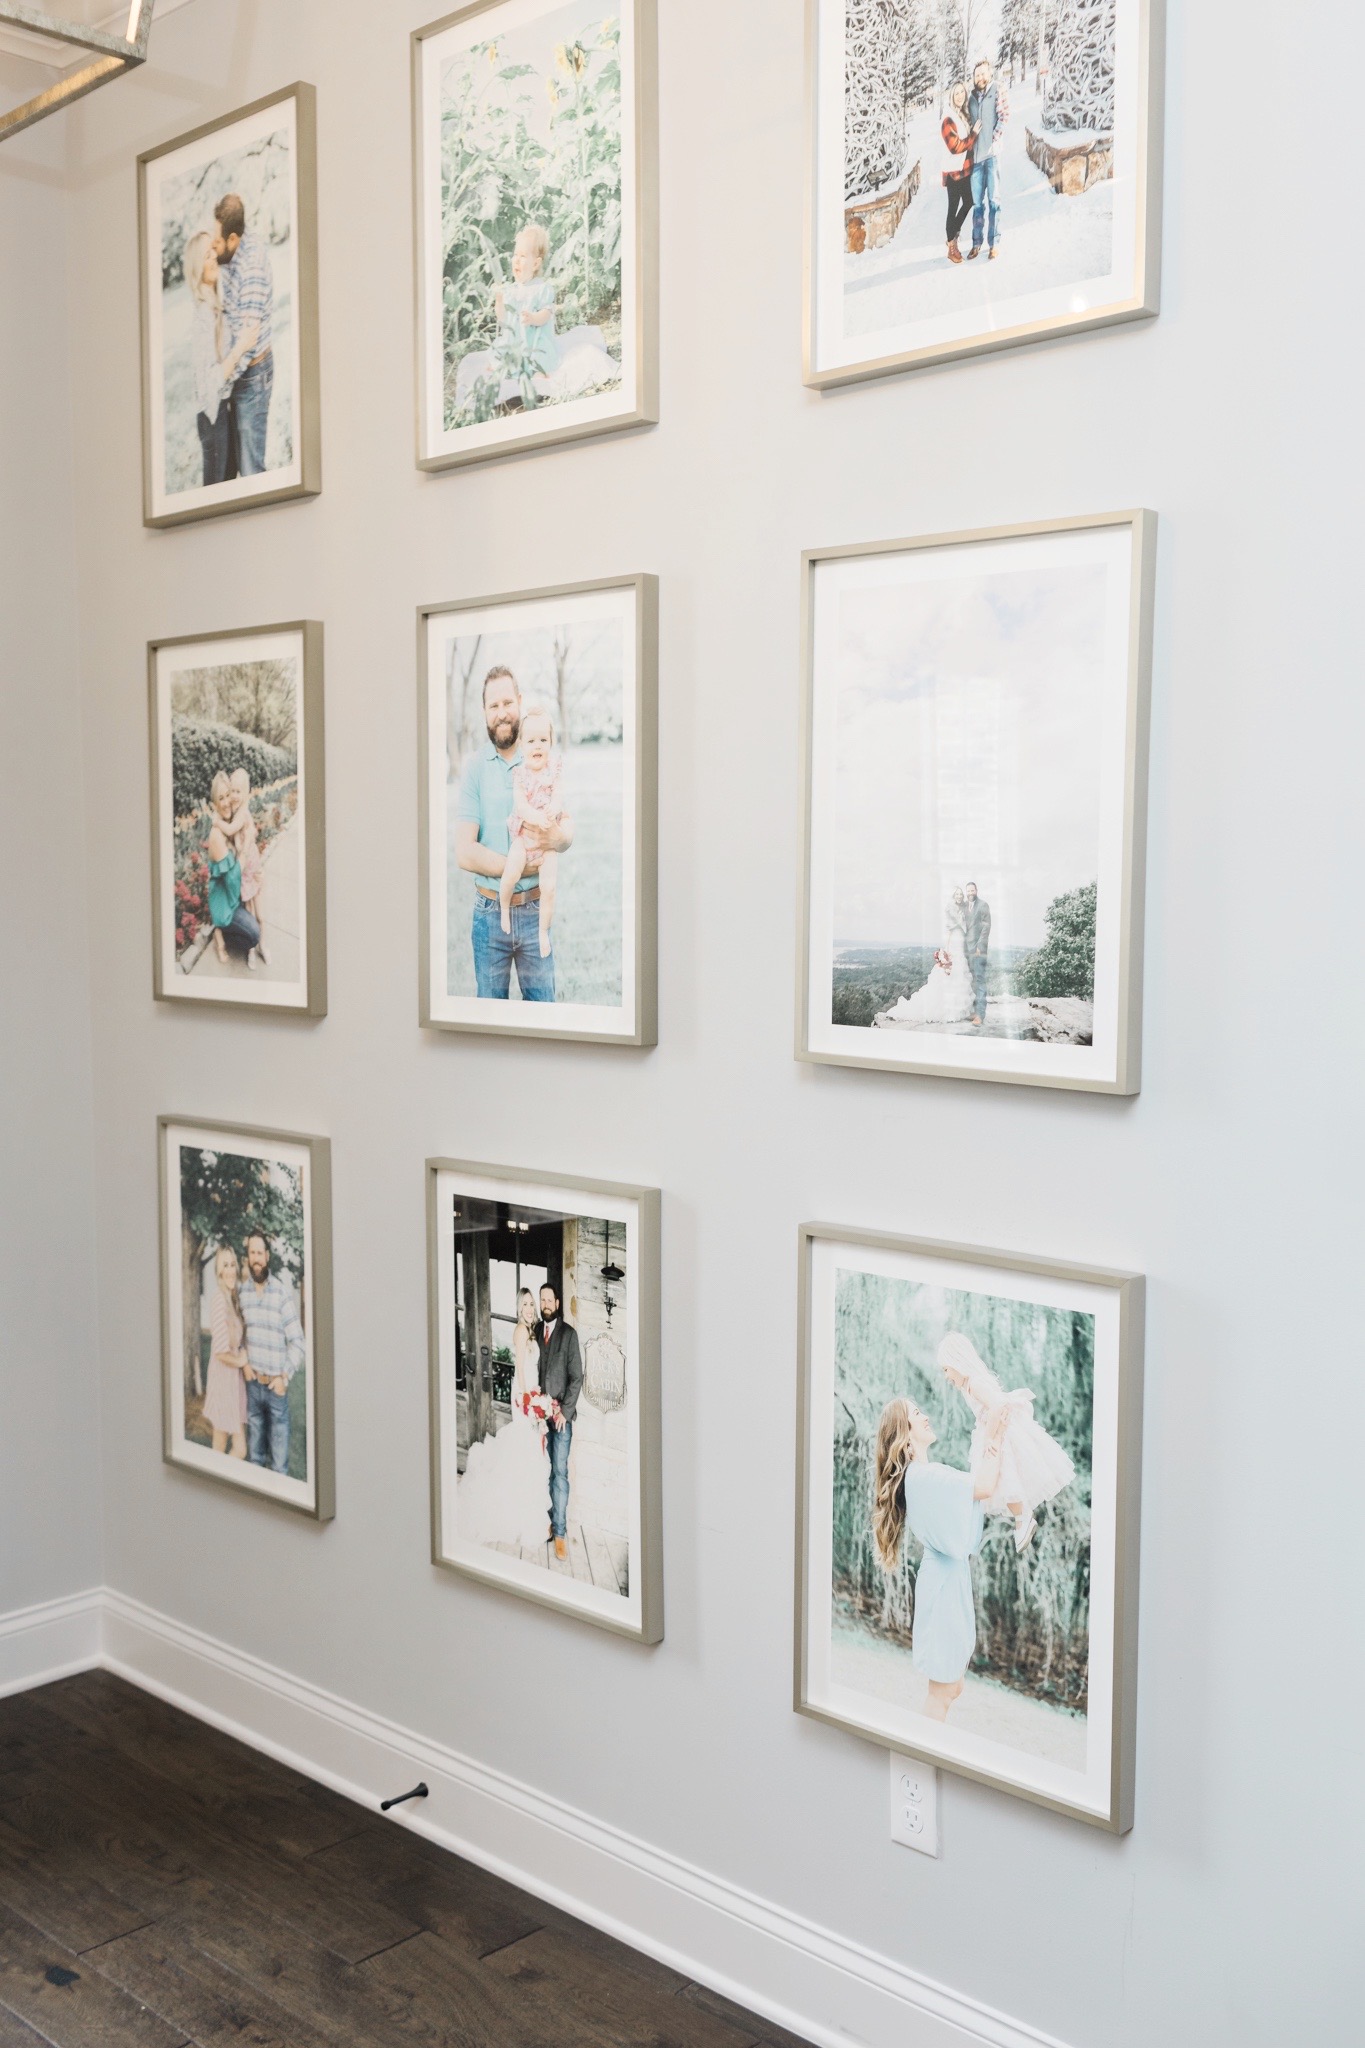
Y’all, I am SO excited to finally be sharing more details about our floor to ceiling gallery wall in our living room. It is seriously my favorite wall in the house. I love it so much, we have even started working on a second smaller gallery wall going into our bedroom. I’ve also had so many of you ask how to create a gallery wall and what size frames we used and where we got them all that I’m finally sharing all those details too.
How to Make a Gallery Wall for your Home:
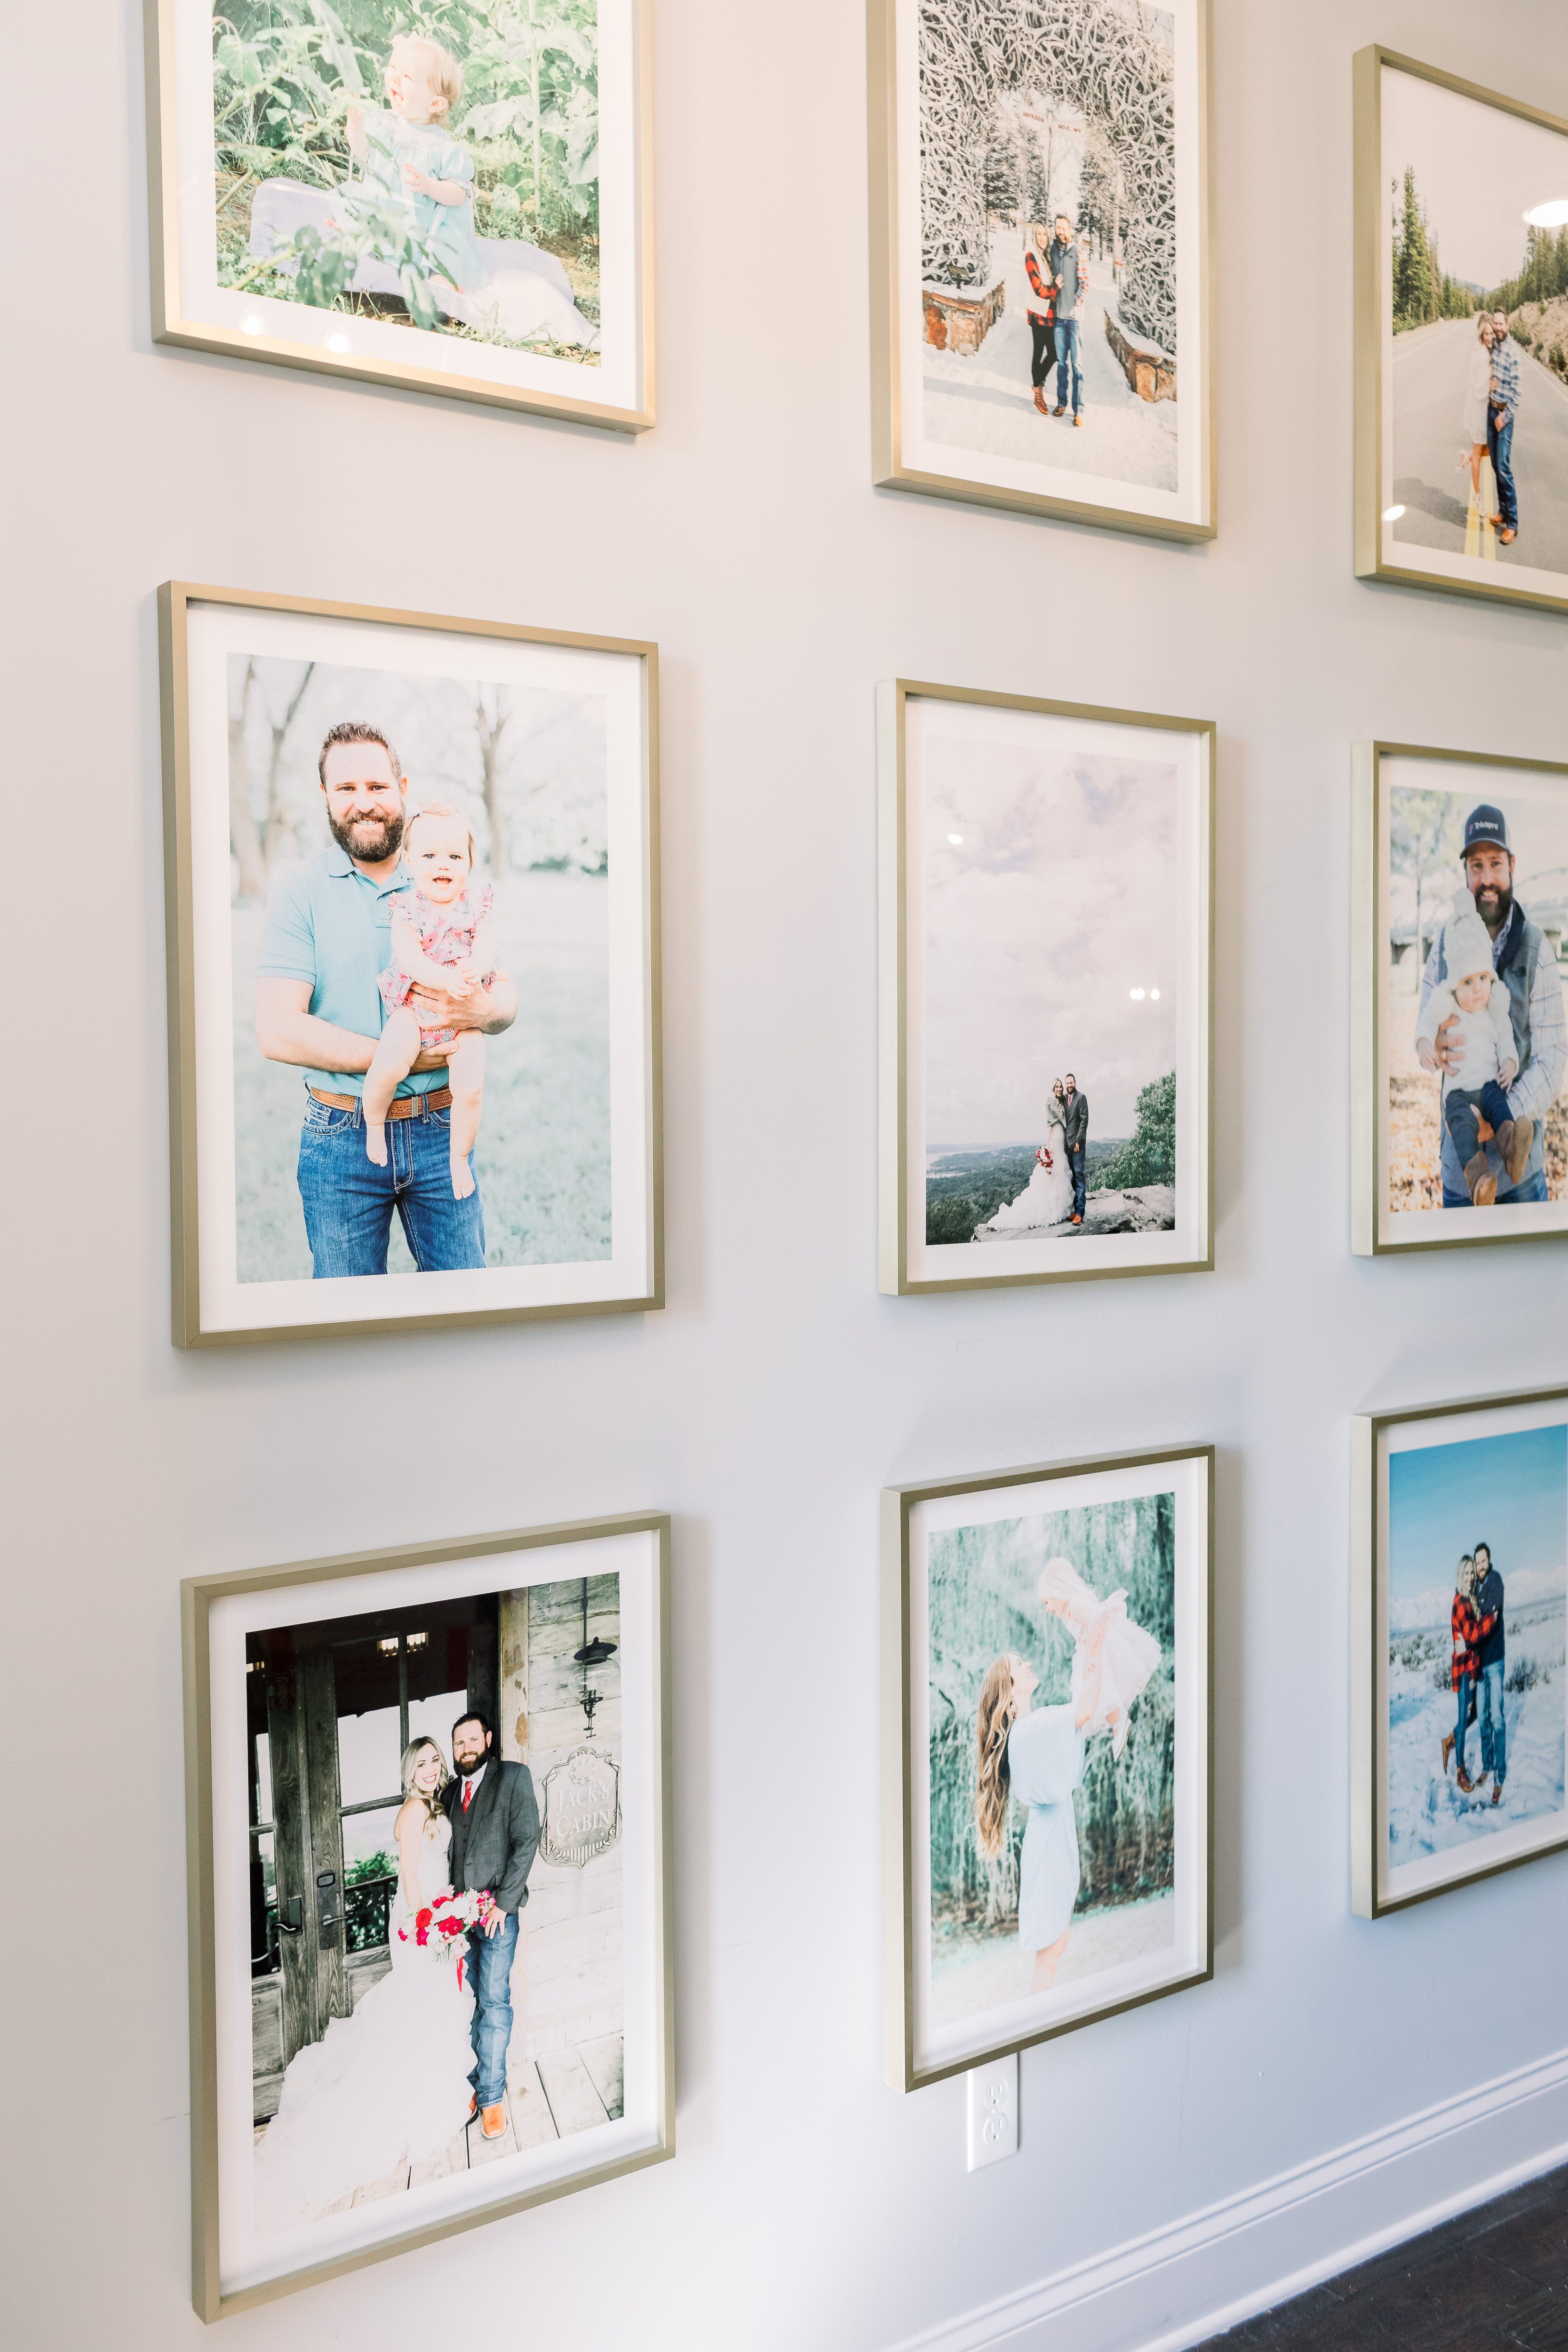
These frames from Minted are 18 x 24.
I originally measured this wall from the bottom of the crown molding near the ceiling to the top of the trim near the baseboards. Once I got that measurement, I was able to tell that I could easily do 3 rows of pictures. I originally wanted to do 4 rows, and I could have if I ordered smaller frames, but I honestly love the look and size of the 18 x 24 frames and think they really stand out and make a statement!
Once I had the height of the wall and the frame size I wanted to use,
I just multiplied the height of my frames by 3 (since I was using 3 rows) to see how much space I would have left in between frames. One you have that amount, you divide by 4 (because there are 4 spaces between the ceiling, the frames and the floor.) That leaves you with the amount that you need to space out between each frame going vertically.
Now onto the spacing horizontally.
You basically just do the same thing. You measure your wall side to side (or space you have) and from there I realized 4 frames was the perfect amount to put horizontally in each row. So from there we ended up with 4 columns running vertically and 3 rows running horizontally.
I went ahead and ordered these frames at that point since I knew that I needed 12 and what size I needed. Once they came in, it made it even easier to plan out my wall since I could really visualize them. To see how they would look all spaced out horizontally, I love siting them again the wall on the floor so I can see how that spacing looks. It worked perfectly. You can also use the newspaper technique and cut out fake “frames” and pin up on the wall to visualize your wall and know where to put screw in the wall, or you can even draw a picture. I prefer to just sit them out along the wall on the floor and draw a picture since that’s much easier.
Once I had the measurement of the wall from side to size, I multiplied 18 (the length of my frames) by 4 (the number of frames in each row.) I then subtracted that number from the wall measurement. That left with the spacing number. from there I divided that number by 5 (the amount of spaces on each side of the frames), and that gave me the number that I want to use to space out each picture horizontally. Since I already had the pictures sitting up against the wall on the floor, that helped me to visualize it and confirm that they spacing looked perfect.
Next it was time to hang the pictures.
I knew these pictures were a little heavy, so I used a small anchor and screw for each one to ensure they stayed up. You can even use a little mounting putty behind the corners of each frame to make sure your frames don’t move from doors being opened and closed, etc. That way they stay put!
I am SO happy with how this gallery wall turned out and can’t wait to share the smaller one soon. I’m already searching for more blank walls to create more gallery walls. I just can’t help myself! I feel like it really stands out and makes a statement, and I’m so happy I didn’t decide to put an entryway table there and only do 8 pictures. I think this statement is much more us! = )


The gallery wall looks awesome!! Very fresh and up-to-date!!